

I thought I would record how I did these, which will show my usual procedure for setting the gauge pins and grippers, among other things. I have been forced to return to the use of my vintage digital camera so please excuse the poor quality of the photos.
The first photo shows the locked up form in the press. I invariably use the chaser method as shown. Because these pads are basically the same as printing a letterhead, the head of the form is at the bottom of the chase and slightly below center. This will allow better inking of the form and more even pressure. The pads are 5” x 8” and about 1” of the sheet stuck out the top of the platen.

The second photo shows the topsheet after the gauge pins have been set. Note that I like to use the McGill double-grip pins, as they are not only easy to set but easy to adjust. I’ve used the spring type before and have a few other kinds including the quad type for certain circumstances. I’m also fortunate in having a set of McGill extension gauge pins which hang off the lower bail, extending below the platen and thereby allowing especially large sheets to be held and printed.
Once my basic packing is set I usually pull an impression on the topsheet using a piece of old-style carbon paper. Normally ink would be used but I’ve found that I’m usually not printing on the same day I’m dressing the platen and getting things ready for a print run. So the carbon paper let’s me print on the topsheet without inking up the press. For those times when I am printing the same day, I pull an impression with ink and then wipe the ink off with a rag and mineral spirits, drying it with baby powder.
The print looks a little light in the photo but the entire form is actually visible. Using a line gauge I drew a line across top of the form. Using a drafting triangle along that line I drew the other line along the left side of the print. I had determined on a layout sheet what margins I wanted and so measured out that distance at two points along each of those two initial lines. Then I drew lines connecting those marks as shown. Then I attached the gauge pins to the top sheet. The double-grip pins require a single slit in the paper to insert the tongue that I cut with a make ready knife. To avoid damaging the pressboard, which I reuse as many times as possible, I inserted under the topsheet an old pressboard saved for just this purpose. Once the cuts are made I remove that board and set the pins as you can see in the photo. Using a sheet of the same stock I’m going to use for the run I take a trial impression, check the margins, and adjust the gauge pins accordingly.

The third photo shows the setup for the grippers. I set the right gripper so it would cover the right side of the sheet and the left gripper far enough over to put some stretch into the rubber bands and generally keep out of the way. I used two rubber bands stretched between the grippers, one at about the center of the sheet and one towards the bottom, i.e. the top of the platen. In combination with the gripper tongues, this proved to work fine.

The fourth photo shows the delivery board towards the end of the run with some of the printed sheets. It also shows a magnifying glass and four rubber fingertips. I kept an eye on the prints and noted when they seemed to print lightly. I then threw off the impression and looked at the print with the glass. Usually my eyesight was proven correct and I had to add some ink to the press. I got the fingertips from Staples and use them in place of the traditional glycerin and/or sandpaper rubber-banded to the fingertips. I put one on the index and middle finger of each hand. They really work great. You can move sheets around with a very light touch and help keep the sheets clean.

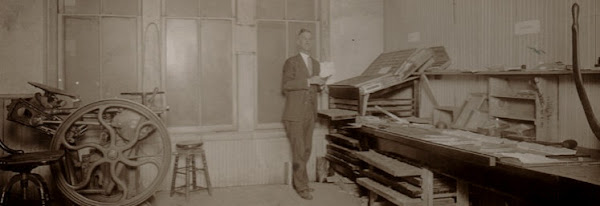
The last photo is simply an overall view of the press after I finished the run. I still have about 300 more to do but will wait until tomorrow. This is also an experiment since I’ve left the Van Son rubber-base ink on the press. I’ve never done this before and tried to print the next day though it’s supposed to be OK. We’ll see.

Once the sheets dry I’ll scan a good copy and show you the results. By the way, note the long ink fountain on the press. I finally got this cleaned up and mounted. I’ll take better photos and post them another time.


2 comments:
S-A T-U-R D-A-Y... NIGHT!
Looks good I'd like to see your pins that attach to the lower bail. Sounds like something I could make use of.
Ah, the Bay City Rollers; you're dating us both! I'll scan the box cover and instructions. I haven't ever seen these for sale new however. I got a set when I helped clean out an old shop.
Post a Comment