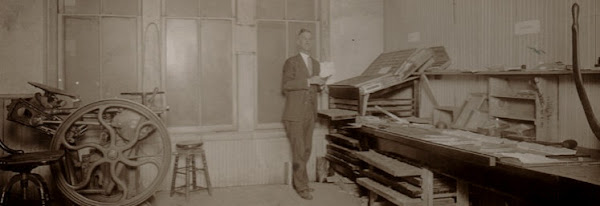
Anyway, I was so anxious to try something I had never done before, namely intaglio printing, and so much wanted to see whether or not the press actually worked that I threw caution to the winds. After final adjustments Sunday afternoon I had things just together enough to pull a proof. The problem was that I had virtually nothing that one needs to do this; nothing proper that is. I had no intaglio ink, copper plate, tarlatan rag, hot plate, or blotting paper. And I had only watched some Youtube videos and read about the process in a few vintage books I downloaded free online. But fools rush in where angels fear to tread.
I did have a few scraps of felt and some 100% cotton paper however. Also some rubber base letterpress ink and a couple 2” diameter brass key ID tags that had been stamped with numbers. Into one of these I made some scratches to try the drypoint technique. The end results can be seen below. Keep in mind that I didn’t wipe off the (wrong) ink properly and that punched numbers are not the same as etching or engraving; also that I wet the paper too much and didn’t blot it properly; and top all of that the fact that I was rushing a bit to get it done after a long day. They may be some of the worst intaglio prints ever but in the above context didn’t come out too badly for some quick test prints. I certainly got a thrill from the “accomplishment” and the knowledge that the press actually worked. If you look closely you can see my backwards initials in the little scratched box in the second photo. These lines are extremely fine and it surprised me how well they showed up.


I’ll detail in another post the last stages of the restoration and have some photos of the restored press as well as a few more things I learned about it.


2 comments:
I have some etching ink and some other tools if you'd like to have them. I'll probably never use them. Next time I see you, I'll bring it.
That would be fantastic! Thanks!
Post a Comment